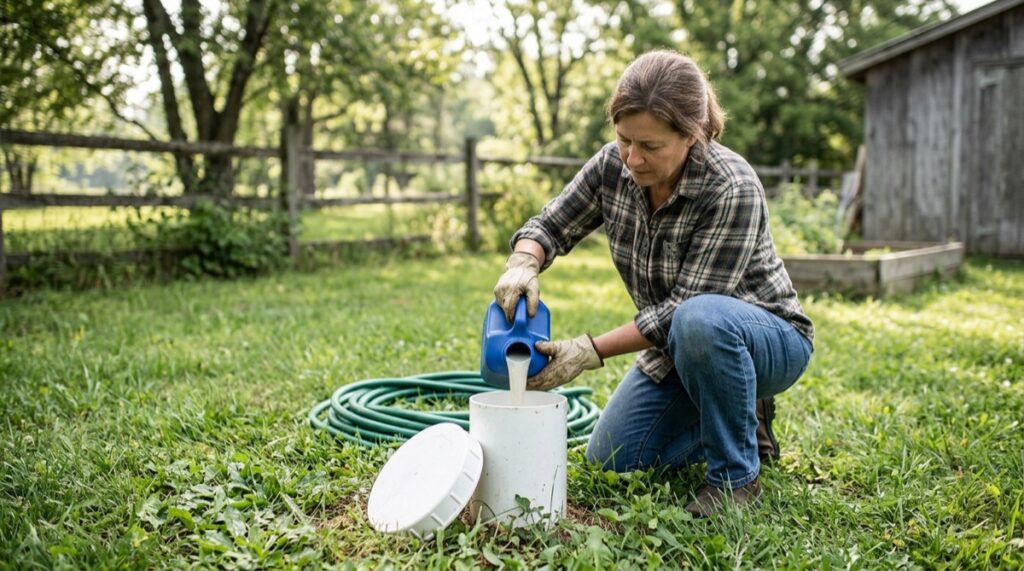
To shock chlorinate a well, you pour unscented household bleach (5.25%–6% sodium hypochlorite) into the well to reach a chlorine concentration of 50–100 parts per million, circulate it through every faucet, let it stand for at least 12 hours, then flush it out and retest the water 7–10 days later. The dose depends on how much water is in your well: roughly 3 pints (about 1.5 quarts) of bleach per 100 gallons of standing water. For most 6-inch home wells with 100–200 feet of water, that comes to about 2–4 quarts of bleach. It is a real do-it-yourself job, right up until the bacteria keep coming back or the well has to be opened up, which is the point where you call a pro.
What Shock Chlorination Is and When You Need It
Shock chlorination is a high-dose disinfection that floods your entire water system, the well bore, the pump, the pressure tank, and the household pipes, with chlorinated water strong enough to kill bacteria. According to the CDC and EPA, it is the standard response when a private well tests positive for total coliform or E. coli bacteria. Unlike a continuous treatment system, it is a one-and-done event meant to reset a well to a clean baseline.
Common reasons to shock a well:
- A coliform-positive water test. Health-department guidance generally recommends shock chlorinating promptly, often within about 48 hours of a positive result, and using bottled or boiled water in the meantime.
- After well or pump service. Any time the well cap is off or the pump is pulled, surface bacteria can be introduced. Disinfect before returning the well to service. See our signs of a failing well pump guide if a recent repair prompted this.
- After flooding. If floodwater reached the wellhead, the well is presumed contaminated until proven otherwise.
- New construction or a long-dormant well being put back into use.
- Persistent sulfur or "rotten egg" odor that may be caused by nuisance bacteria, though chlorine is often only a temporary fix here. See our guide on a sulfur smell in well water.
What shock chlorination does not do: it will not remove nitrates, lead, arsenic, hardness, or chemical contaminants, and it will not permanently fix a well that keeps getting re-contaminated from a structural defect or a nearby pollution source.
Safety First: What to Do Before You Start
Chlorine bleach is a hazardous chemical at the concentrations used here. Read this section before opening a single jug.
- Never mix bleach with other cleaners, especially anything containing ammonia or acid. The combination produces toxic gases. Use bleach and water only.
- Use plain, unscented bleach. Buy fresh bleach that is at least 5% sodium hypochlorite (commonly labeled 5.25%–6%). Avoid scented, "splash-less," lemon, or color-safe products, and never use pool shock with added algaecides or stabilizers in a drinking-water well.
- Wear eye protection and rubber gloves, and work in the open air. Vapors are irritating in enclosed well houses or basements, so ventilate the space.
- Plan for no water use during the soak. The system stays full of chlorinated water for 12 to 24 hours, so set aside bottled water for drinking, cooking, and brushing teeth.
- Protect your septic and plants. Flush the heavily chlorinated water outside, away from a septic drainfield, streams, ponds, and landscaping, ideally onto a driveway or gravel.
- Know your equipment. Bypass or remove cartridge filters, water softeners, and carbon/UV units first, because high chlorine can damage or exhaust them. Reverse-osmosis membranes and softener resin are especially vulnerable.
Chlorine works best when the water's pH is in the mid range (about 6.5 to 7.5). Very high pH sharply reduces its disinfecting power, and very acidic, corrosive water raises its own handling concerns, so if your pH falls well outside that window, disinfection is better handled by a professional who can adjust the water chemistry. If you are not sure of your pH, our guide on how to test well water explains how to find out.
How Much Bleach to Use (by Well Diameter and Water Depth)
The whole calculation comes down to one number: how many gallons of water are standing in your well. You get that by multiplying the depth of the water column by a gallons-per-foot factor for your casing size, then dosing roughly 3 pints of bleach per 100 gallons to land in the 50–100 ppm target range. The factors below are standard across state health-department guidance.
| Well casing diameter | Water per foot of depth | Bleach for 100 ft of water | Bleach for 200 ft of water |
|---|---|---|---|
| 4 inch | 0.65 gallons | ~1 quart (32 oz) | ~2 quarts (½ gallon) |
| 6 inch (most common) | 1.47 gallons | ~2 quarts (½ gallon) | ~1 gallon |
| 8 inch | 2.61 gallons | ~1 gallon | ~2 gallons |
| 10 inch | ~4.08 gallons | ~1.5 gallons | ~3 gallons |
How to find your water-column depth. Subtract the standing water level (the depth to the top of the water) from the total well depth, both of which are usually on your original well log or driller's report. If you do not know the depth, state guidance says to assume a 150-foot water column for your casing size and use about double that volume of bleach to be safe. Add an extra pint or two for the household plumbing. For context on typical figures, see how deep a well should be.
A worked example. A 6-inch well with 150 feet of standing water holds about 1.47 × 150 = 220 gallons. At 3 pints per 100 gallons, that is roughly 6.6 pints, call it 3 quarts (a bit under a gallon) of bleach, plus a pint for the pipes. When in doubt, slightly more bleach is fine; too little is the more common mistake.
Step-by-Step: How to Shock Chlorinate Your Well
- Step 1, prep the system. Bypass or remove softeners, filters, RO, and UV units. Turn off any water heater so it does not run dry. Gather your bleach, a clean bucket, gloves, and eye protection.
- Step 2, mix a starter solution. Add your calculated bleach to about 5–10 gallons of water in a clean bucket. Diluting first helps it disperse and protects the pump from a slug of straight bleach.
- Step 3, pour it in. Remove the well cap or vented sanitary cap and pour the solution down inside the casing, trying to wash down the inside walls. Some installers attach a hose to a nearby faucet and run water back down into the well for 5–15 minutes to circulate and rinse the casing.
- Step 4, replace the cap and run the indoor faucets. Open every cold and hot faucet, tub, shower, and outside hydrant one at a time and run each until you smell chlorine, then shut it off. Do not forget the water heater and any outdoor spigots.
- Step 5, do not forget the toilets and appliances. Flush each toilet once so chlorinated water reaches the tanks. Skip the dishwasher and washing machine, or run a short empty cycle, so they too see chlorine.
By the end of this stage, every part of your plumbing should hold chlorinated water and you should smell chlorine at each tap.
Circulating, Waiting, and Flushing the System Safely
Let it stand. Once chlorine is detectable at every faucet, shut everything off and leave the system undisturbed for at least 12 hours, and ideally 24 hours, overnight is convenient. Longer contact time gives the chlorine more chance to reach bacteria sheltered in scale or biofilm.
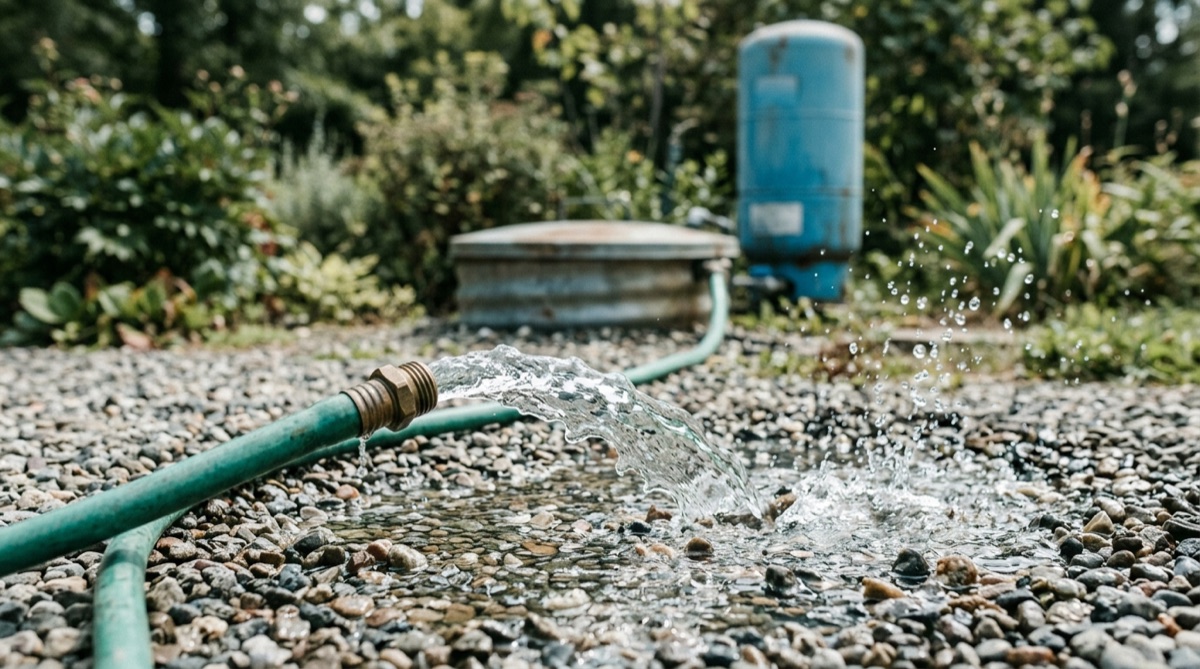
Flush the well first, outside. After the soak, attach a hose to an outdoor faucet and run it onto a driveway or gravel area, away from the septic drainfield, plants, ponds, and streams, until the strong chlorine smell at that faucet fades. This empties most of the chlorine before it ever reaches your septic tank, where a large slug of bleach can disrupt the bacteria that make the system work.
Then flush the indoor lines. Run each indoor faucet until the chlorine odor is gone. Drain and refill the water heater. Avoid sending large volumes of chlorinated water into the septic system all at once; spread the indoor flushing out if you can.
- Watch your pump. Do not let the well run dry while flushing. If pressure drops or the pump short-cycles, pause and let the water level recover.
- Reconnect treatment equipment only after the chlorine is fully flushed, so you do not damage softener resin or carbon and RO media.
Retesting Your Water and What Results to Expect
Disinfection is not finished until a lab confirms it. Wait until all chlorine is flushed out, then test 7 to 10 days later for total coliform and E. coli. Testing too soon, while residual chlorine is still present, can mask bacteria and give a falsely clean result. A basic coliform/E. coli test typically runs $25–$50 at a certified lab, and many county health departments offer it free or for $20–$50.
- Clean result (no coliform): the shock worked. Resume normal use and put the well on an annual testing schedule, as the CDC recommends, alongside a well maintenance checklist.
- Still positive: repeat the shock chlorination once. A single re-treatment is reasonable.
- Positive again after a second try: stop. Repeated failures point to an ongoing source, a structural defect, a failing septic system, or a contaminated aquifer, that chlorine cannot cure. This is the line where a licensed professional takes over.
When to Skip the DIY and Call a Licensed Pro
Shock chlorination is homeowner-friendly until the situation crosses into well-repair or water-chemistry territory. Call a licensed water-well or pump contractor when any of these apply:
- Bacteria keep coming back after one or two proper shock treatments, which signals a persistent source such as a cracked casing, a bad well seal, an improper cap, or a nearby failing septic system.
- You have iron bacteria or heavy biofilm, the slimy reddish-brown buildup that shields bacteria from chlorine. Severe cases need mechanical cleaning or acid pretreatment that, per state guidance, should only be done by trained professionals.
- The pump has to be pulled, or the well needs physical access beyond removing the cap. Pulling a submersible pump is heavy, sometimes dangerous work.
- Your water has an extreme pH (well outside about 6.5 to 7.5), which can make disinfection unreliable and calls for professional pH adjustment.
- You suspect a structural problem with the casing, grouting, or wellhead. Our guide on well casing and grouting explains why these defects let contamination back in.
- E. coli is present, which indicates fecal contamination and a possible health emergency, get professional guidance and use a safe water source immediately.
A pro can also install continuous disinfection (chlorine injection or UV) when periodic shocking is not enough. Spending a service-call fee here is almost always cheaper than chasing a recurring problem with jug after jug of bleach.
Frequently asked questions
How much bleach do I need to shock my well?
Use about 3 pints of unscented 5.25%–6% household bleach per 100 gallons of standing water, which targets the 50–100 ppm range. Figure your water volume by multiplying the water-column depth by your casing's gallons-per-foot factor (1.47 for a common 6-inch well). A 6-inch well with 150 feet of water (about 220 gallons) needs around 3 quarts plus a little extra for the pipes. If you do not know the water depth, assume a 150-foot column for your casing size and double the dose to be safe.
How long does chlorine need to stay in the well?
Leave the chlorinated water standing in the well and plumbing for at least 12 hours, and ideally 24 hours, before flushing. Longer contact time gives the chlorine more opportunity to reach bacteria hiding in scale or biofilm, which improves the odds of a clean retest.
How long after shocking my well can I drink the water?
Do not drink the water while you can still smell chlorine. After flushing the system completely, the EPA and CDC advise waiting and retesting for coliform bacteria about 7 to 10 days later. Only drink the water once a lab confirms it is bacteria-free; use bottled or boiled water until then.
Can I use pool shock or scented bleach instead of regular bleach?
No. Use only plain, unscented 5.25%–6% sodium hypochlorite bleach. Avoid scented, splash-less, or color-safe products and pool shock containing algaecides or stabilizers, since those additives are not meant for drinking water and can leave residues you do not want in your well.
Will shock chlorination get rid of a sulfur or rotten-egg smell?
Sometimes, but often only temporarily. If the odor comes from sulfur or nuisance bacteria, chlorine may clear it for a while, but the smell frequently returns. Persistent sulfur odor usually needs a dedicated treatment system rather than repeated shocking. See our guide on a sulfur smell in well water for longer-term options.
How often should I shock chlorinate my well?
Only when there is a reason, such as a coliform-positive test, well or pump service, or flooding, not on a fixed routine. Test annually for bacteria and shock as needed. If you find yourself shocking the well every few months to keep bacteria at bay, that is a sign of an underlying problem a licensed contractor should diagnose.
If your test results keep coming back positive, or the job involves pulling the pump or inspecting the casing, it is time to bring in a professional. Find a licensed well contractor near you to inspect the well, identify the contamination source, and set up the right long-term solution.
Sources: CDC, How to Disinfect Wells After an Emergency; U.S. EPA, private well disinfection and emergency-water guidance; Penn State Extension, Shock Chlorination of Wells and Springs; Oregon State University Well Water Program; University of Georgia Extension, Disinfecting Your Well Water; Ohio Department of Health, Disinfection Fact Sheet for Drinking Water Wells (gallons-per-foot factors). Testing-cost ranges from certified-lab pricing surveys (2026).

Author: Well Driller Finder Editorial Team
The Well Driller Finder editorial team researches and writes our guides on water-well drilling, pumps, and well water for homeowners across the US and Canada. We translate current cost data, NGWA and state well-construction standards, and EPA and CDC guidance into clear, practical answers. What we stand for: honest, independent help. Every price and claim is researched and fact-checked against multiple 2026 sources — never guessed, never borrowed from a single advertiser. We answer to homeowners, not to the companies we write about, because our only goal is to help you make a confident, well-informed decision about your water.
Find verified, local contractors who handle new installations, pump service, and water quality testing — in your area.